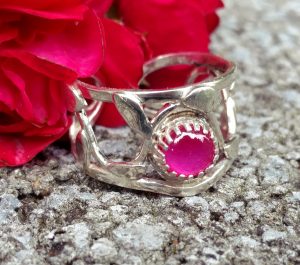
Soldering a silver ring is a bit different from soldering a pendant. A ring must be a lot stronger, because: 1) it is bent and 2) it is worn on the most active part of the body – the hand. Imagine all the things you do with your hands. Very often you forget to take off the ring when doing household chores. Another problem is that people dress and undress wearing the jewelry. So the ring has to go through all the sleeves and gloves.
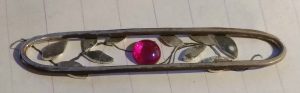
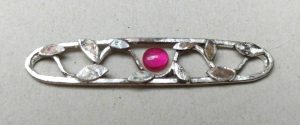
I have described the advantages of the step-by-step soldering for a branch pendant in this blog. To fasten the leaves to a stem a two step procedure is recommended. First you make the bond with a high-temp solder (hard), and then you seal it with a medium temp solder.
Leave a Reply