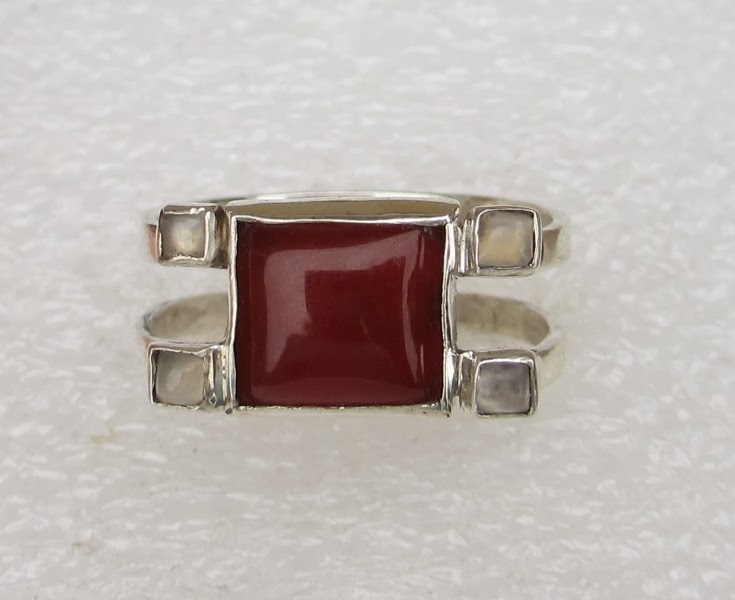
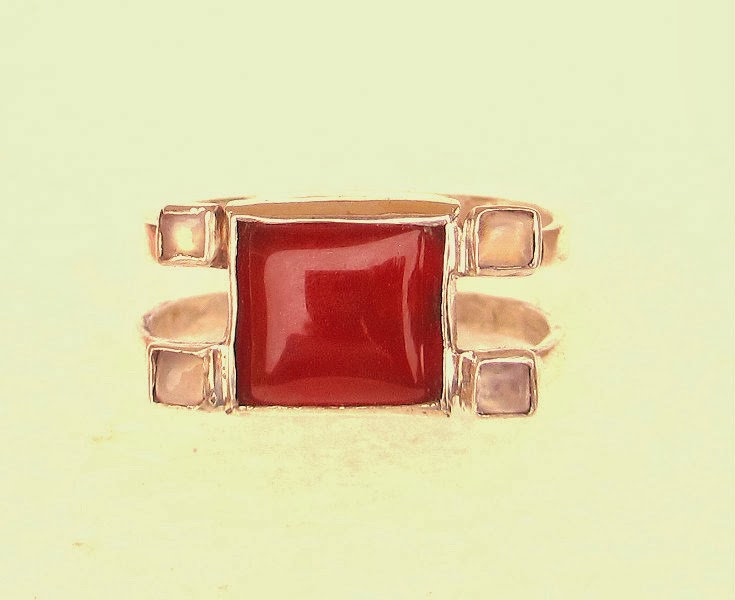
For many years I have lived with a misconception that photoshop jewellery “is not done”. It looked to me like misleading the customer. But is it so? Making good pictures of jewellery is very difficult unless you are a professional photographer or can afford to hire one. The lack of a studio, equipment, and last but not least…the lack of these beautiful light conditions. Most of us do not live in California and in the winter – the most creative period – days are so awfully short too. In these circumstances it is virtually impossible to obtain a true to life picture which would do justice to your jewellery piece. Is THIS not misleading? Look at the pictures at the right. The real color of the carnelian is like on the “after” picture, not like on the “before”. I can bet this ring on that.
Etsy endorses photo editing “Edit your photos to make them brighter, crisper and the colors truer.” You see: editing makes things truer, not the other way round!
Fotor image editing: free, fun and easy way to photoshop jewellery
To be honest I used some editing tools such as Microsoft Photo Editor for cropping, rotating and resizing images. But after having read the above instruction I decided to have a closer look at photo editing tools. And I found a great free online tool which I am now going to share with you.
It’s name is Fotor and it can be found here. The makers claim that photo editing has never been so fun and simple. And it is true. Even uploading an image from your PC goes easy: Fotor picks the most actively used directory, which is in my case the directory with jewelry pics.
Besides photo editing Fotor can also make cards and collages. The vertical menu is simple and intuitive. For my editing purposes I use the first two options: Basic and Effects. Another option that could be used is Frames.
So here we go… do anything with your picture and compare it to the original by switching on the “Compare” button (on the top of the screen). However, don’t drift too far from the original.
I start editing with basic functions, the main of which is Sharpness. Almost every my picture could use more sharpness. And more brightness too. Then I also add some contrast and saturation. The greatest thing is that you can mix and match these functions seeing an immediate result. Don’t like it? Discard the changes and start all anew. Most of the time the Basics are enough. However, you can also play with Tone (especially the Exposure option) and Colors (usually I don’t alter colors too much).

But the real fun are the special effects. They can be applied either for the full 100% or for just 5-10% (using the scale sliders). Depending on the main color of my jewelry piece I chose an effect which enhances this color and also suppresses the background as much as possible. Among my favorites are Virginia, Dallas and SutroFi from Classic set, Mildness and Sutro Fx from Lomo, Nostalgic from Vintage, Wall scratch from Cool. I used to apply the Funky effects, like Halo (seen on the pic). But it is too funky distracting the attention from the main piece. However Halo could be a nice way to hide an imperfect background. If you like you can also try B&W series, but my jewelry is all about color.
For the lazy people Fotor also has a one-tap-enhance function. However it never worked with my images making them too dark.
Satisfied with the final result? Save your picture under a different name and post it to your webshop site.
Photoshop or not? No, I do not photoshop jewellery – I fotor it 🙂
Leave a Reply